Total Pageviews

Friday, September 24, 2010

Diff - Quick Change Cover

On my way home I passed through Masterton and called in on Magoos Street Rods while I was there. They have a pretty comprehensive showroom with a good range of "oooh lets buy it" kind of stuff on display.


I was eyeing up this booster and master cylinder set up while I was there but decided to hold fire as I really need to be doing as much as I can on the chassis while it is at Juniors Kustom Rides as there are things they can finish for me that I won't be able to do myself when that chassis is here at home. Its bloody tempting though.


....and I did succumb to one piece of man jewelery, I bought this Quick Change Diff cover when I was there to help dress up the Jag rear. It is straight out of the mold so will need to be polished yet, but it should really make a feature of the diff.


This what it will look like from the back of the car.

Chassis - Progress

I had to go down to Wellington for work so it was a good chance to tie in a couple of other things while I was down that way including a visit to Juniors Kustom Rides where my chassis is coming together. I guess you'd call it a perk of the job.


Here's a few shots of the showroom before we head out to the workshop.


Well here it is in all its glory. This is the first time I've seen the chassis in the flesh of course so its fair to say I was pretty excited. It was even better to be able to see it in the jig and being worked on.


They use Tig welders which are a lot slower but the result is a lot nicer than a Mig.


The Jag rear has now been stripped out of the big ugly cage that it was in when it was in the Jag. Its still pretty grubby & rusty but is starting to look more like it should in its new home.


Check out those welds....... B-E-A-U-T-I-F-U-L. An absolute work of art. It was great to be able to see the work actually in progress. A lot of time and care being taken here to get things just right. Have to say I am really pleased with what I saw.


The chassis below has just had all its work completed before its delivery to the owner. Its for a 38 Chev. The font suspension you see here is pretty much what will be going into mine. That is the next stage once they have finished installing the Jag rear.


This is Mark, the owners project. Its a Model A Coupe. He intends running it as a plain steel car with bare interior, so no paint or upholstery as such. It will look much as you see it here. That in turn means the panel work has to be perfect as you can't hide any sins with bog or paint. You should see the work that has gone into this already. Certainly a labour of love and a long term project.


The rear of this 32 Tudor (another project on the go) is what the Jag rear should resemble once finished with chrome, polishing and HPC. A long way to go. This one is actually a custom unit imported from the states and it has a true quick change diff head, meaning the diff ratio can be changed via the back cover. I am not sure but I imagine the gear set is Winters brand while the unit itself is probably something like Krugel. It would be somewhere around the $20k mark.


This 32 Tudor has just had a Louvered roof insert added and it looks great. Real nice panel work here. The price tag makes the fibreglass option real attractive though. This car as you see it is said to owe the owner some $200k. Ouch!


I am not a huge fan of Pop's as they are often budget rods and their finishing has a lot to be desired. This one though is another story and in my opinion is exactly what a Pop should be. Has to be powered by a V8 and check out those tubs. This will be fun in the dry and downright frightening in the wet.


They do all sorts of work here. This truck is in for rust repairs to the floor and door frames.


These few pics give an idea of the scale of the workshop. Its simply massive with plenty of scope for more projects. As it is though they have 8 staff working on what you see here.


It was great to be able to call and see all this and starts to get a good strong reading on the "getting-keen-o-meter"

Sunday, September 19, 2010

Aircon - Aircon & Heater

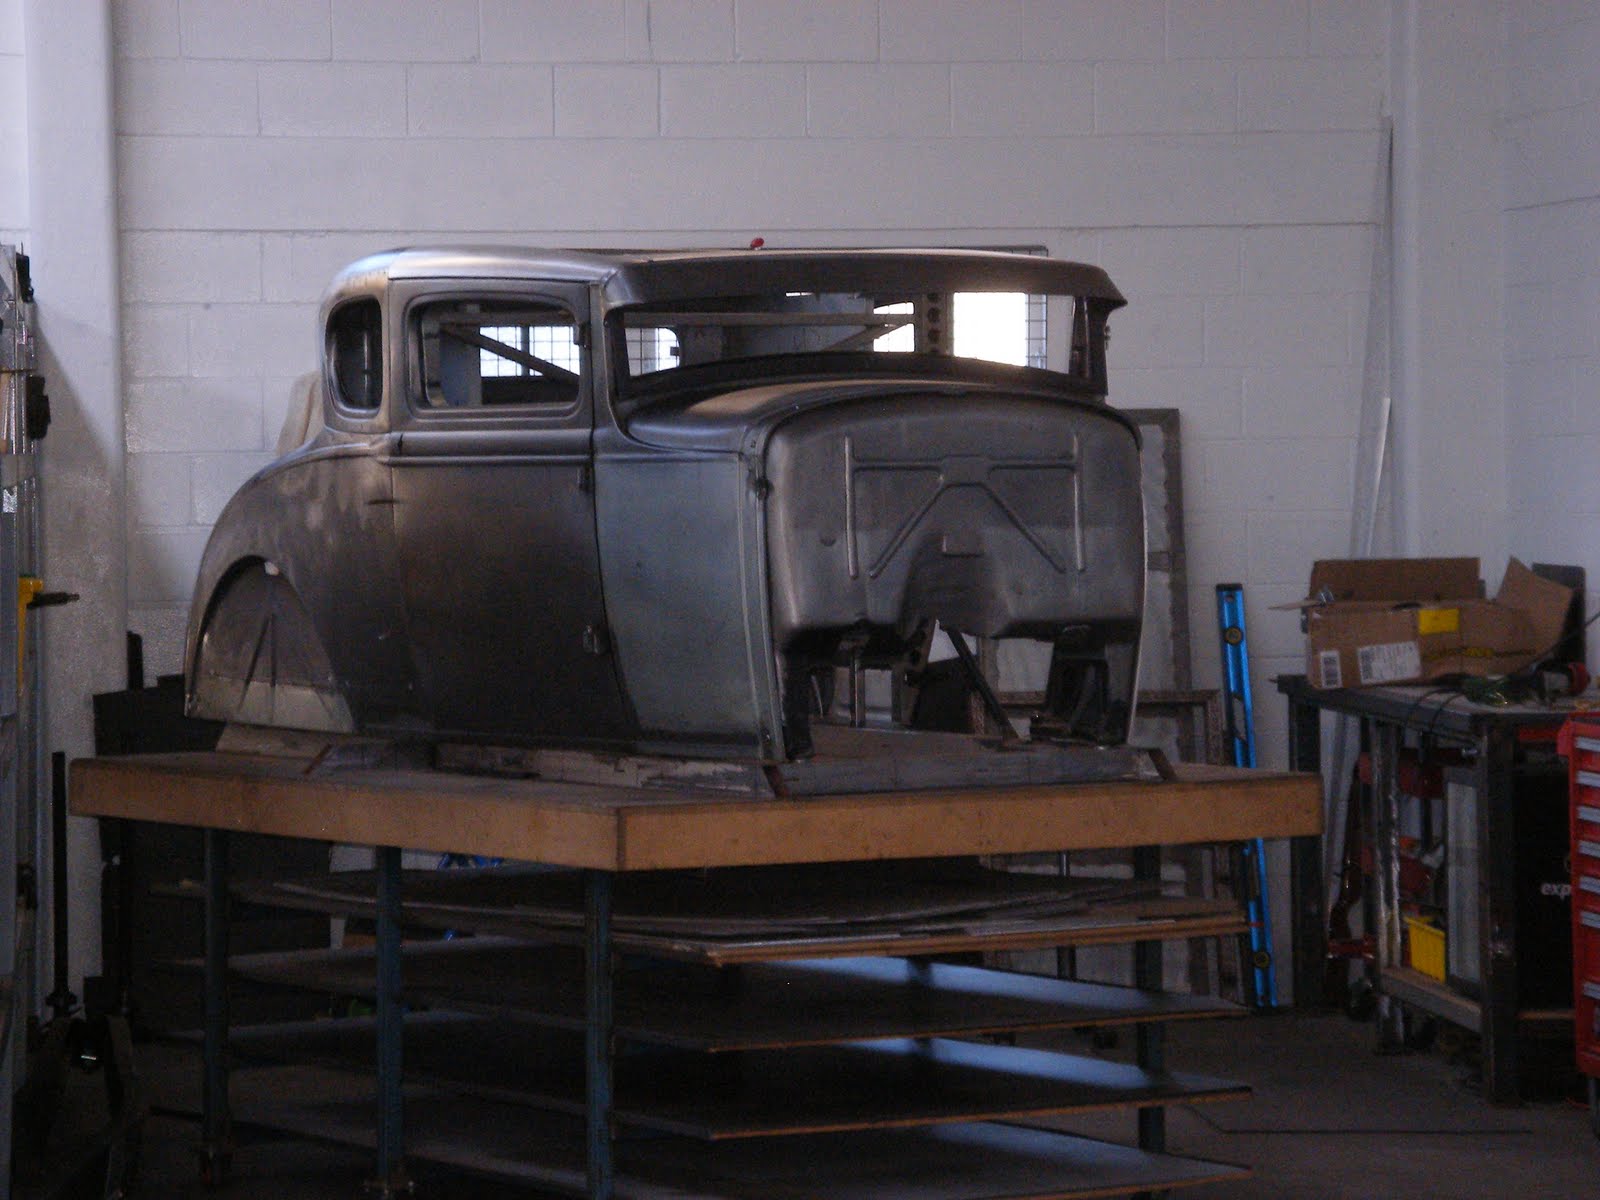
Well here is the Heater and Aircon unit out of a Celica. Lets take a look at what is involved and what I intend doing to it, to make it fit in a hot rod.


This is the fan and the unit that controls recirculating or fresh air.


This is the module that houses the Air Con Radiator.


This is the main control unit where the air is directed to face, demist, footwell or cominations of these. It also houses the heater core.


The control panel, will be used as it is. I just need to sort where and how to mount it in the car.


This is the complete unit before I peel open the wiring.


You can see here, I have now opened up all the wiring looms so I can track all the relevant wires and look at deleting the rest that is surplus to requirements.


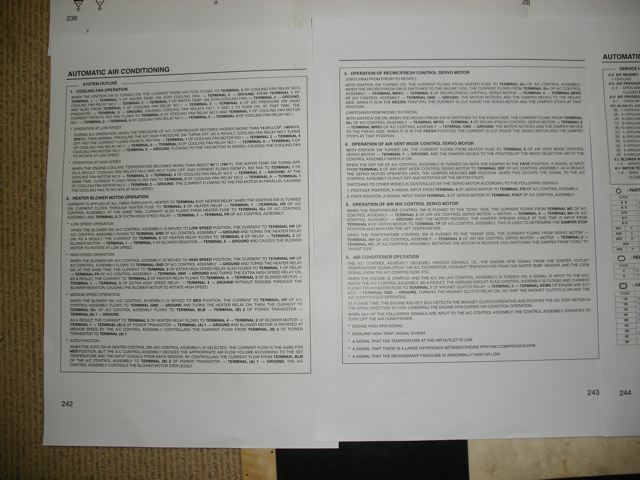
This is the wiring diagram itself all pieced together.


This section explains how the system operates and what each of the motors, switches and relays does.


The picture below shows the sheet that identifies all the plugs used in the set up.


These aren't the correct diagrams for the unit I have but they give you an idea of what I am up against. It isn't as scary as it looks, you just have to be a bit methodical I guess. Once I get the right diagrams I should be able to crack into it.

What I have done so far is track the wires from the control panel and from the plugs and components that are obviously part of the aircon and heating unit. This should hopefully make it easier to trace everything and match it to the wiring diagrams when I get them.

Phil (the guy wiring the engine) reckons he has a pretty good library of diagrams for these Celica's so here's hoping.

Once I have the wiring sorted I will be tearing the units apart and rebuilding them into a more compact and prettier looking box that will go under the floor in amongst the chassis rails and K member.

I will use the Fan, Heater core and aircon core along with all the doors/flaps that control the airflow, but it will need to be miniaturised to get it mounted where I need to. Well that's the plan anyway. The best part though is I should end up with fully electric climate air con.

And what if it all turns to custard? Well it hasn't cost me anything yet thanks to Garry Pegler who has a few Celica wrecks that he kindly allowed me to raid, so if anything doesn't work another visit might be required. And as a last resort If I just can't make it work or make it fit.......I guess it can always go in the bin.

General - Photo's of a friends 34 Coupe

I shot round to a friends place recently to check out the progress on his 34 Five window Coupe. Its a real steel car which is pretty cool. Bill & Dawn bought the car a couple of years ago. It was an 80's build and the chassis wasn't the best. It was using a Cortina front end and was sitting really low. Looked good, but judder bars were a challenge.

Bill decided to build up a new chassis and has recently taken the car off the road to put the new chassis under it. As with many of these projects, you start doing one thing and before you know it you've started chipping off a bit of paint, then the whole thing is back to bare metal, the wirings getting redone and new upholstery is on the cards.....yep thats right Bills in the middle of a total rebuild.

It was a great chance for me to get a few pics and to check out that Rods by Reid front end.....Nice!