You might remember from the first blog about gluing the roof back on that when you join fibreglass you can't just glue the two cut pieces together. Instead you need to hollow out the cuts from behind, fill them with fibreglass, then hollow them out from the front and fill them with fibreglass again.
By doing this rather than a weak join like this where the only glue would be on the join.....

......you get one like this where there is fibreglass over a much wider area on both the front and back face of the join. In fact the actual join is not even visible anymore. This is much stronger and most unlikely to crack.

So here we have it, this is what it looks like outside the body body now. I have ground out the join from behind and filled it with fibreglass. Now I am ready to grind out the front side of the join.

Here it is a bit later once I have ground it.

And a close up......you will be hard pressed to find any hint of a join now. Now it is all ready to fibreglass.

Here we have it, many hours later. Looking good.

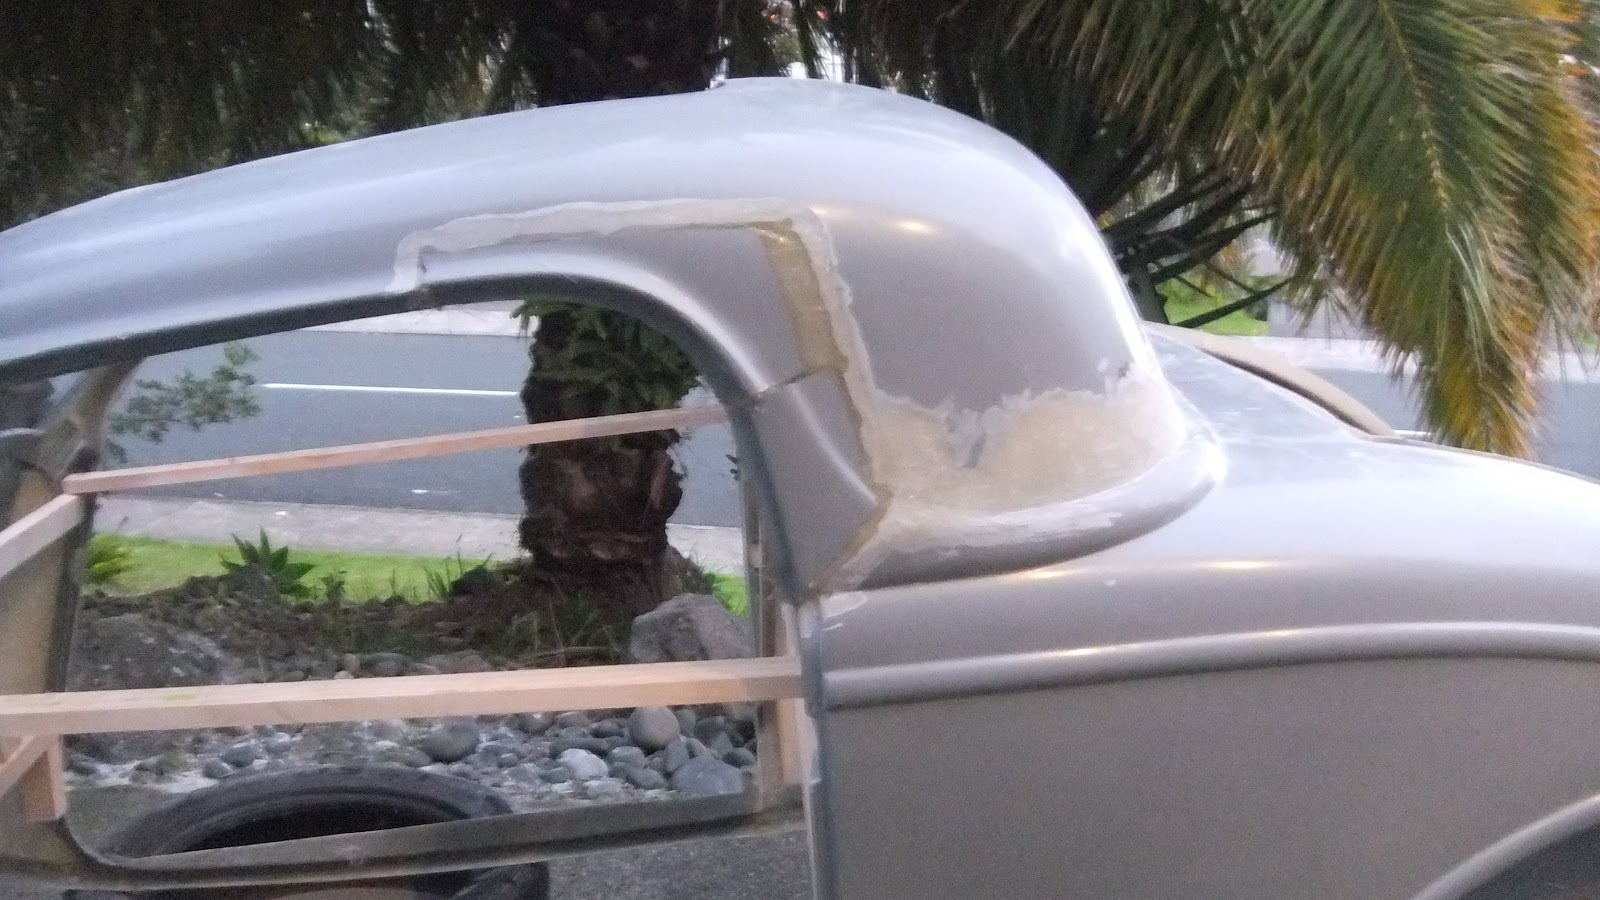
You will remember in the last blog too that I needed to recreate the A Pillar because it looked like this after the chop.....a bit of alignment required.

Well here it is just after I had fibreglassed the outside.

And here it is after I had knocked it back with the grinder ready for finishing with body filler.

The next major adjustment is to sort out the B pillar. Now this one needs a bit more thought and its all to do with the wind up window that rolls up and down inside the door. Look at this next picture. This is what the original door was like. It is this shape for a reason and note there is a frame that the glass sits in when the window is up.

In this next picture you can see what goes on inside the door. The glass slides up and down in two tracks and there is room in front of the tracks for the door latch mechanism and behind the track on the right hand side for the door hinges.

Since I have done the roof chop though there is a real problem. See if you can work it out from this next picture. Now bear in mind too that the new doors won't have a frame for the glass to sit in....they are what is known as pillar less doors. Can you visualise the problem.

In effect this is what the door opening looks like at present.

Let me explain what is wrong with this using this next picture.
The dotted line represents where the glass would need to travel when the window is being wound down. This isn't going to work. The glass can't go down where there is no door...it just won't work.

So what I need to do is shift the B pillar forward so that the door opening looks like this. As you can see the glass is not as wide and doesn't go beyond the back of the door anymore. This will enable it to go down inside the door on a track.

So here is that change on the actual body.
Firstly mark out the B pillar where I am going to cut it out.

Make the cuts and remove the B pillar pieces.

Shorten and remodel the B pillar pieces so that they fit back together again, but note they are much further forward now and there is a step where the bottom of the window opening meets the top of the door. Now that its all taped up I can fibreglass from inside the body.

Here it is several hours later with the fibreglass set and all the tape removed. You still probably need to double click on the picture to make it bigger so that you can see how the B pillar is stepped forward compared to the door jamb. Its not much but will hopefully be enough. If its not I'll just have to do it all again another day.
Don't worry that the nice curved swage line doesn't line up. I'll fix that with the angle grinder and reform it when I re-fibreglass the outside and will refine the shape with body filler.
Hi Colin
ReplyDeleteLooks like good progress
Geoff
Cheers Geoff. Getting there but it all takes time eh. They don't build themselves unfortunately.
ReplyDeleteIsn't it funny how one change can snowball into a bunch of things that need to be done? Nice job Colin, keep up the good work.
ReplyDeleteThanks. Yes I think it will work out fine now I have the 'step'. Time will tell I guess and like I say I can always change it again if need be.
ReplyDelete